Introduction
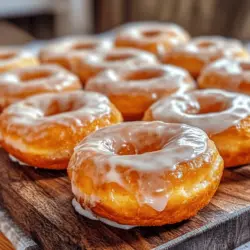
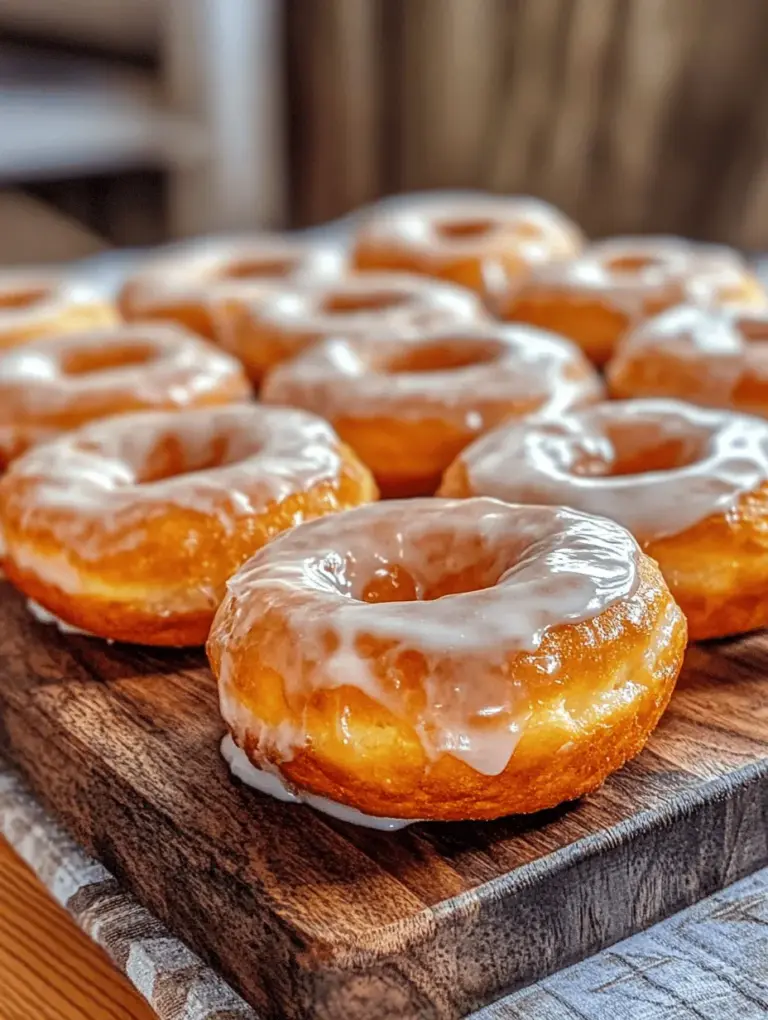
Indulging in sweet, fluffy donuts can be one of life’s simple pleasures, and there’s nothing quite like the taste of homemade Krispy Kremes. These iconic donuts, known for their light, airy texture and sweet glaze, have captured the hearts of many. Making your own Krispy Kremes at home not only allows you to enjoy these delectable treats fresh from the fryer, but it also turns the process into a joyful culinary adventure. In this article, we will guide you through the delightful process of making these heavenly treats from scratch. With a perfect balance of texture and sweetness, these donuts are an excellent choice for breakfast, dessert, or any special occasion. Prepare to embark on a culinary adventure that will not only satisfy your cravings but also impress your family and friends.
Krispy Kreme donuts are synonymous with freshness and quality. The moment you take a bite, you’ll experience the delicate crunch of the outer glaze, followed by the soft, pillowy interior that melts in your mouth. While many enjoy these donuts from their favorite shops, nothing beats the satisfaction of creating them in your own kitchen. As we dive into the recipe, you’ll discover the essential ingredients and techniques that will ensure your homemade Krispy Kremes rival those from the store.
Understanding the Ingredients
The Essentials of Donut Making
To embark on your donut-making journey, it’s crucial to understand the key ingredients that contribute to the deliciousness of Krispy Kremes. The four main ingredients include flour, sugar, yeast, and eggs. Each plays a vital role in achieving the perfect donut texture and flavor.
– Flour: All-purpose flour is the backbone of the dough, providing structure and stability. It’s important to use high-quality flour to ensure the best results.
– Sugar: Besides sweetening the donuts, sugar also helps with browning during frying, giving the donuts their signature golden color.
– Yeast: The magic of Krispy Kremes lies in the yeast, which creates the light and fluffy texture that makes these donuts so irresistible.
– Eggs: Eggs add richness and moisture, contributing to the overall flavor and texture of the donuts.
Using high-quality ingredients is essential when creating these treats. Fresh yeast, unbleached flour, and organic eggs can elevate your donuts from good to truly heavenly.
Yeast: The Secret to Fluffy Donuts
Yeast is a key player in the world of baking, and it’s particularly important in donut making. For our Krispy Kremes, we will use active dry yeast, which is a popular choice due to its reliability and ease of use. Yeast ferments the sugars in the dough, producing carbon dioxide gas that causes the dough to rise and develop that characteristic airy texture.
To ensure proper yeast activation, it’s important to follow a few simple tips:
1. Water Temperature: The water used to activate the yeast should be warm but not hot. A temperature range of 100°F to 110°F is ideal. Too hot water can kill the yeast, while too cold may not activate it effectively.
2. Sugar’s Role: Adding a small amount of sugar to the yeast-water mixture provides nourishment for the yeast, helping it to bloom and become bubbly.
3. Proofing Time: Allow the yeast to sit for 5-10 minutes. You should see bubbles forming, indicating that the yeast is active and ready to work its magic in your dough.
The Role of Dairy in Donut Texture
In addition to the primary ingredients, dairy plays a significant role in achieving the rich and moist texture of your Krispy Kremes. Whole milk is a common choice in donut recipes for several reasons:
– Richness: Whole milk adds creaminess and depth of flavor, making the donuts more indulgent.
– Moisture: The liquid in the milk helps create a soft, tender crumb, ensuring that each bite is full of flavor.
– Temperature: Using room temperature milk can also aid in smoother mixing and better incorporation into the dough.
Furthermore, butter is another critical dairy ingredient that enhances both flavor and texture. Melted butter adds a rich, buttery taste while also contributing to the overall softness of the donuts. By using high-quality dairy products, you elevate your Krispy Kremes to a whole new level.
Step-by-Step Guide to Making Heavenly Homemade Krispy Kremes
Preparing the Yeast Mixture
The first step in making your Krispy Kremes is preparing the yeast mixture. This crucial step sets the foundation for your donuts. Here’s how to do it:
1. Gather Your Ingredients: You’ll need active dry yeast, warm water, and a pinch of sugar. Start with about 2 1/4 teaspoons of yeast, which is equivalent to one packet.
2. Activate the Yeast: In a small bowl, combine the warm water (about 1/4 cup) with the sugar. Stir gently until dissolved. Sprinkle the yeast over the water and let it sit undisturbed for about 5-10 minutes. During this time, the yeast should begin to bubble and foam, indicating it is activated and ready to use.
3. Check the Temperature: If you have a thermometer, check the water temperature. Make sure it’s within the ideal range (100°F to 110°F). If the water is too hot or too cold, it can impact the yeast’s effectiveness.
Mixing the Dough
Once your yeast mixture is bubbly and active, it’s time to mix the dough. This step is essential for achieving the right consistency and ensuring all ingredients are well incorporated. Follow these tips for success:
1. Combine Dry Ingredients: In a large mixing bowl, combine 4 cups of all-purpose flour, 1/2 cup of granulated sugar, and 1 teaspoon of salt. Whisk the dry ingredients together to ensure even distribution.
2. Add Wet Ingredients: Create a well in the center of the dry ingredients and pour in the activated yeast mixture, 1/2 cup of whole milk (room temperature), and 2 large eggs. The eggs should also be at room temperature for optimal mixing.
3. Stir the Mixture: Using a wooden spoon or a spatula, gently stir the mixture until it begins to come together. You may need to add more flour a little at a time if the dough is too sticky, but be cautious not to add too much.
4. Kneading the Dough: Once the dough has formed, turn it out onto a lightly floured surface. Knead the dough for about 5-10 minutes until it becomes smooth and elastic. Proper kneading develops the gluten, which gives the donuts their structure and chewiness.
Kneading for Perfection
Kneading is a crucial step in donut-making as it impacts the final texture of your Krispy Kremes. Here’s how to knead the dough properly:
1. Flour Your Surface: Lightly flour your work surface to prevent sticking. You can also flour your hands as needed.
2. Knead Method: Use the heel of your hand to push the dough away from you, then fold it back over itself. Rotate the dough a quarter turn and repeat the process. This technique helps develop the gluten structure.
3. Check for Readiness: After kneading, the dough should be smooth and elastic. A good test is to perform the “windowpane test”: stretch a small piece of dough between your fingers. If it stretches thin enough to let light through without tearing, it’s ready for the first rise.
The First Rise: Patience is Key
Once your dough is kneaded to perfection, it’s time for the first rise. This step is essential for developing the light and fluffy texture of your Krispy Kremes.
1. Prepare for Rising: Lightly grease a large bowl with oil or cooking spray. Place the kneaded dough in the bowl, turning it to coat all sides with oil. This helps prevent the dough from drying out.
2. Create a Warm Environment: Cover the bowl with a clean kitchen towel or plastic wrap. Place it in a warm, draft-free area, such as an oven with the light on or near a heating vent. The ideal rising temperature is around 75°F to 85°F.
3. Rising Time: Allow the dough to rise for about 1-2 hours, or until it has doubled in size. The time may vary depending on the ambient temperature.
4. Check for Doneness: To determine if the dough has risen enough, gently press your finger into the surface. If the indentation remains, the dough is ready; if it springs back, give it more time.
Shaping Your Donuts
After the first rise, it’s time to shape your donuts, which is where the fun begins! Follow these steps to create perfectly shaped Krispy Kremes:
1. Prepare Your Surface: Lightly flour your work surface again and gently punch down the risen dough to release any trapped air.
2. Roll Out the Dough: Use a rolling pin to roll the dough to about 1/2-inch thickness. Be sure to flour the rolling pin and surface as needed to prevent sticking.
3. Cutting Out the Donuts: Use a donut cutter or two round cookie cutters (one larger and one smaller) to cut out the donut shapes. Place the larger cutter over the dough to create the outer ring and the smaller cutter in the center for the hole.
4. Transfer to a Baking Sheet: Carefully transfer the cut-out donuts to a parchment-lined baking sheet. Leave space between each donut to allow for rising.
5. Second Rise: Cover the donuts with a clean kitchen towel and let them rise again for about 30-45 minutes, until they have puffed up.
By following these initial steps, you will be well on your way to creating heavenly homemade Krispy Kremes that will leave everyone begging for more. Stay tuned for the next part of this guide, where we will cover the frying process and the delicious glaze that makes these donuts truly irresistible.
Importance of Maintaining Uniform Thickness
When it comes to making donuts, achieving uniform thickness in your dough is crucial. This ensures that each donut cooks evenly and rises properly, resulting in a consistent texture that’s light and airy. Uneven thickness can lead to some donuts being doughy while others may become overly crisp. Aim for about ½-inch thickness when cutting your donuts and holes. You can use a rolling pin, but be sure to dust your work surface and the dough with flour to prevent sticking. If your dough feels too soft or sticky, allow it to rest for a few minutes before rolling it out again.
The Second Rise: Getting Those Donuts Puffed
Best Practices for Allowing Shaped Donuts to Rise
After shaping your donuts, the second rise is where the magic truly happens. This step allows the yeast to work its magic, helping the donuts to puff up and develop that signature airy texture. To ensure that your shaped donuts rise properly, place them on a parchment-lined baking sheet and cover them with a clean kitchen towel. This will retain moisture and warmth, creating an ideal environment for the yeast to activate.
You should allow the donuts to rise for 30-45 minutes, or until they have nearly doubled in size. The dough should feel puffed and light to the touch. It’s essential to be patient during this step, as rushing can lead to denser donuts.
Why the Second Rise is Crucial for Texture
The second rise is vital for creating a tender, fluffy donut. It allows the gluten to relax, which results in a softer texture while the yeast continues to ferment, producing gases that expand the dough. Skipping this step can result in donuts that are dense and chewy rather than light and airy. So, take the time to let your donuts rise adequately; your taste buds will thank you!
The Frying Process
Preparing the Frying Oil
When it comes to frying your donuts, the right oil is paramount. For the best results, choose oils with a high smoke point, such as vegetable oil, canola oil, or peanut oil. These oils can withstand high temperatures without burning, ensuring that your donuts fry evenly and absorb minimal oil.
Before you start frying, it’s essential to check the oil temperature. Ideally, the oil should be heated to around 350°F to 375°F. Use a deep-fry thermometer for accuracy. If you don’t have one, you can drop a small piece of dough into the oil; if it sizzles and rises to the surface, the oil is ready. However, be cautious not to overcrowd the pot, as this can lower the oil temperature and affect cooking.
Frying the Donuts to Golden Perfection
Now, it’s time to fry those beautifully risen donuts. Carefully lower each donut into the hot oil using a slotted spoon or spider. Fry them in batches, ensuring there’s enough space in the pot for the donuts to float freely. Cook each side for about 1-2 minutes or until they are a deep golden brown.
Once they are cooked, use the slotted spoon to remove them from the oil and place them on a wire rack lined with paper towels to drain any excess oil. This technique helps to keep the donuts from becoming greasy. To ensure even cooking, you can gently rotate the donuts in the oil while frying. This will help to achieve that perfect golden color all around.
Crafting the Perfect Glaze
Ingredients for the Glaze
The glaze is what takes your homemade Krispy Kremes to the next level. For a classic glaze, you will need:
– 2 cups powdered sugar
– 1/4 cup milk (more for a thinner glaze)
– 1/2 teaspoon vanilla extract
The powdered sugar provides sweetness and a smooth texture, while the milk helps achieve the fluid consistency necessary for a perfect glaze. The vanilla adds a lovely flavor that elevates the overall taste.
If you want to get adventurous, consider adding cocoa powder for a chocolate glaze, or experimenting with flavored extracts like almond or maple for a unique twist.
Achieving the Right Consistency
To achieve the ideal glaze consistency, start by whisking the powdered sugar, milk, and vanilla extract together in a bowl. If the glaze is too thick, gradually add more milk until you reach a pourable consistency. Conversely, if it’s too thin, add more powdered sugar until it thickens up.
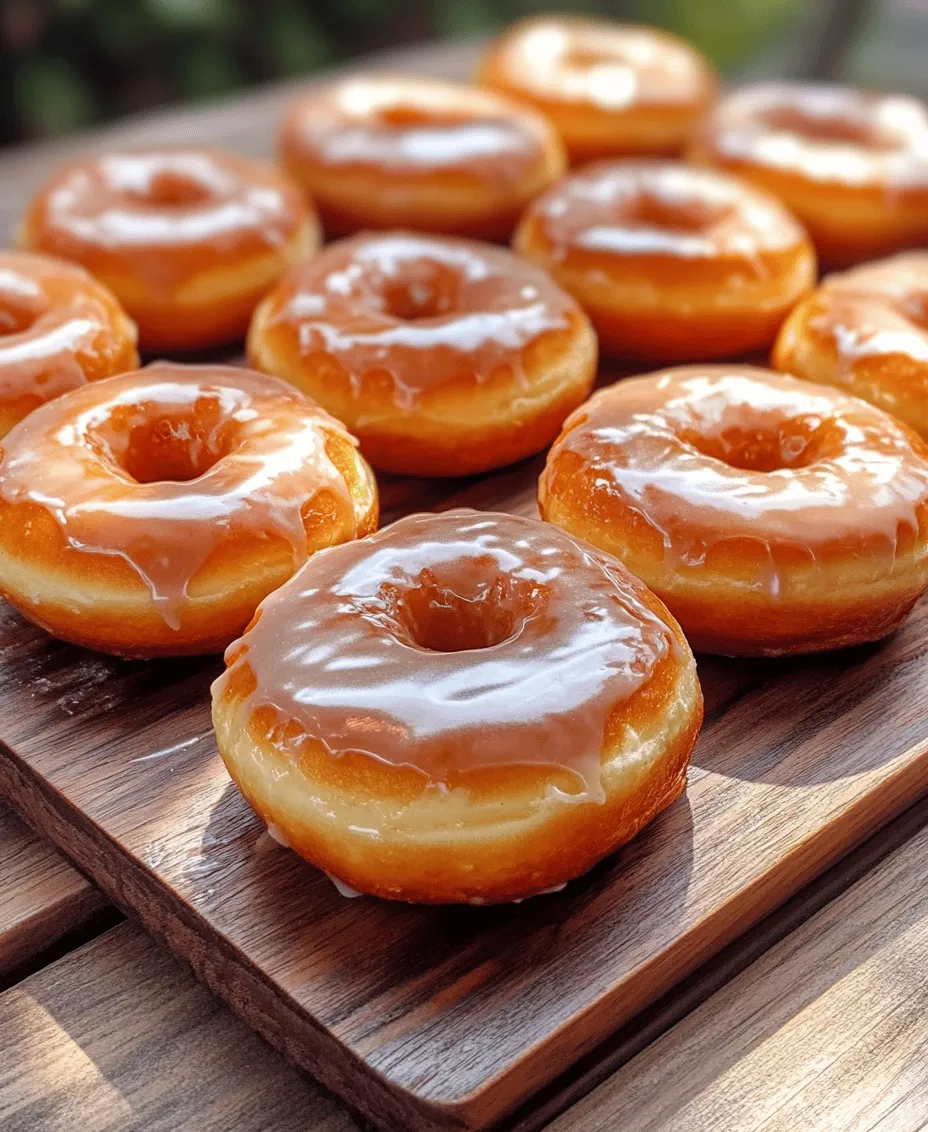
When it comes to coating your donuts, you can dip them directly into the glaze or use a spoon to drizzle it over the top. If you choose to dip, make sure the donuts are still warm to allow the glaze to adhere better. You can also place the glazed donuts on a wire rack to let the excess glaze drip off.
Serving Suggestions and Pairings
Presentation Ideas for Your Donuts
Once your Krispy Kremes are glazed and ready to serve, it’s time to think about presentation. For a delightful display, arrange the donuts on a decorative platter or tiered cake stand. You can also sprinkle them with colorful sprinkles for a festive touch or dust them lightly with powdered sugar for an elegant finish.
Consider serving your donuts with some creative garnishes, such as fresh fruit, whipped cream, or a side of chocolate or caramel sauce for dipping. This not only enhances the visual appeal but also adds an interactive element to the experience.
Beverage Pairings
To elevate your donut experience, consider pairing them with the right beverages. A warm cup of coffee or espresso complements the sweetness of the donuts beautifully. If you prefer tea, a classic black tea or a spiced chai can also enhance the flavors.
For a more indulgent treat, try serving your Krispy Kremes with a glass of cold milk or even hot chocolate, especially if you’ve opted for a chocolate glaze. These pairings will not only satisfy your sweet tooth but also create a delightful balance of flavors.
Conclusion
Making homemade Krispy Kremes is a rewarding experience that combines the joy of baking with the satisfaction of indulging in a delicious treat. With each step, from preparing the yeast to glazing the donuts, you will create a dessert that is not only delightful to taste but also fun to make. The combination of fluffy texture, sweet glaze, and creative presentations ensures that these donuts are perfect for any occasion, whether it’s a cozy breakfast, a festive gathering, or a simple afternoon snack.
Dive into the world of baking and treat yourself to the heavenly taste of homemade Krispy Kremes. With just a little patience and love, you can create a batch that rivals your favorite donut shop. Enjoy the process, savor the results, and share the joy of these delightful treats with friends and family. Your homemade Krispy Kremes are sure to bring smiles and satisfaction to everyone who tries them!